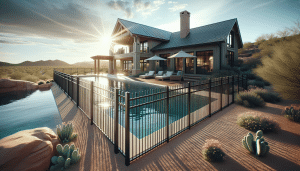
Homeowners often find themselves puzzled by the need to secure their swimming pools effectively. Our blog will guide you through the process of planning and installing your own pool fence, step-by-step. Designed for the proactive homeowner in maricopa County, this guide is here to help you ensure safety and peace of mind.
Contents
Understanding the Importance of Pool Safety
When it comes to owning a pool, safety should always be our top priority. A properly installed pool fence not only provides peace of mind but also helps protect loved ones and pets from accidental falls.
In many locations, having a pool fence is a legal requirement, further emphasizing its importance. By taking the DIY route, we can ensure that the installation is both cost-effective and up to our standards.
Gathering Essential Information
Before diving into the installation, it’s essential to gather all the necessary information about local regulations. Familiarize yourself with pool fencing laws in your area to avoid any compliance issues later on.
Moreover, understanding the specific needs of your home and family can guide you in choosing the right materials and design for your fence. This foundational step will ensure a smooth installation process.
Choosing the Right Materials
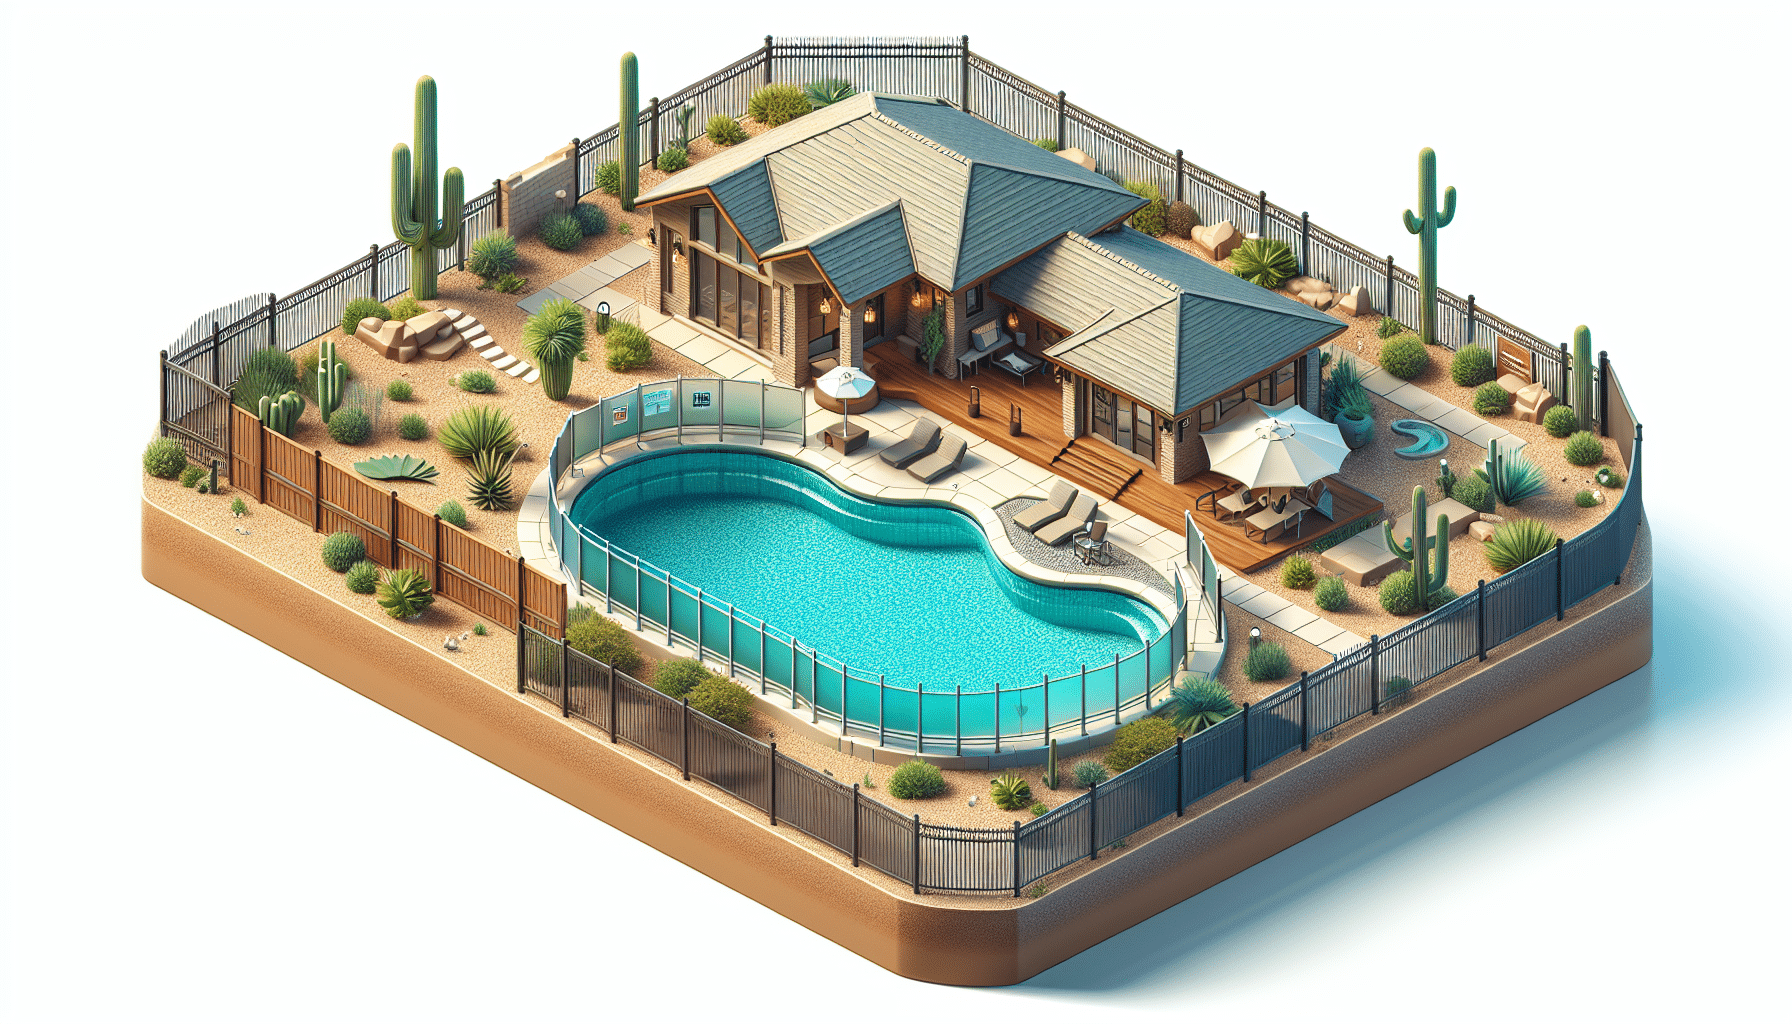
The choice of materials significantly impacts both the appearance and durability of your pool fence. Common options include wood, aluminum, and vinyl, each offering unique benefits that cater to different preferences.
While wood provides a classic look, aluminum offers a sleek appearance with minimal maintenance. On the other hand, vinyl is known for its durability and flexibility in design.
Planning Your Layout
Mapping out the layout of your pool fence is a crucial step in the installation process. Start by deciding where the fence will be placed, considering both aesthetics and functionality.
Make sure to account for any gates that will need to be included and measure the full perimeter accurately. This ensures that we have all the materials needed without facing any surprise shortages during installation.
Gathering Necessary Tools
Having the right tools on hand will make the installation process smoother and more efficient. Basic tools such as a tape measure, level, and post hole digger are essential for starting out.
Additionally, keep safety equipment like gloves and goggles nearby to protect yourself during the construction process. Proper preparation makes all the difference in ensuring a stress-free DIY project.
Preparing the Ground
Once we have our layout planned and tools ready, it’s time to start preparing the ground. First, clear the area of any debris or obstacles that could interfere with fence placement.
Next, mark the locations for your posts carefully, considering any underground utilities that might be present. This step is vital to ensure the proper alignment and stability of your fence.
Installing the Posts
With the groundwork complete, it’s time to install the posts that will form the backbone of your pool fence. Begin by digging holes at the marked locations, ensuring each is deep and wide enough to stabilize the post.
Once in place, use a level to check that each post is plumb. Secure them with concrete for added durability, letting it set as per the manufacturer’s instructions to achieve optimal strength.
Adding the Panels
After the posts are secure, we can move on to attaching the panels that will form the barrier around your pool. Most panels attach directly to the posts with screws or brackets, depending on the material.
As you proceed, continuously check their alignment and make adjustments where necessary. This step requires precision, as any misalignment here can affect the overall appearance and effectiveness of the fence.
Incorporating Gates
Gates are a crucial element of your pool fence, providing access while maintaining security. Choose locations for your gates thoughtfully, ensuring they are easily accessible and do not compromise safety.
When installing the gates, double-check that they latch securely and swing away from the pool. Consider self-closing and self-latching mechanisms for added safety, especially in homes with children or pets.
Finishing Touches
With the main structure in place, it’s time to focus on the finishing touches. Inspect the entire fence for any loose parts or areas that might need additional securing or adjustments.
You may also want to add decorative elements or apply a protective finish depending on the material used. These final steps not only enhance the durability of your fence but also ensure it complements your outdoor space beautifully.
Maintenance Tips
- Regular Inspections: Perform regular checks to ensure that all components of your pool fence are secure and in working order. This proactive approach helps quickly identify any potential issues.
- Cleaning: Keep your pool fence clean from dirt, debris, and algae by washing it with a gentle soap solution as needed. This maintains its appearance and prolongs its lifespan.
For metal fences, check for any signs of rust and treat immediately. This prevents further damage and keeps your fence looking its best. - Lubricate Gates: Apply lubricant to gate hinges regularly to ensure they open and close smoothly without noise. This simple maintenance task extends the longevity of your fencing setup.
- Prompt Repairs: Address any damage or wear and tear promptly to prevent small issues from becoming costly repairs. This ensures your fence remains safe and functional.
Conclusion
Completing a DIY pool fence project is a rewarding endeavor that enhances safety and adds value to your home. For any questions or further assistance, feel free to contact us by phone at 480-771-8026 or Request a Free Quote! We’re here to help you every step of the way.