If you’re a homeowner in Mesa thinking about a sturdy, attractive fence around your pool, you’re in the right place. Installing a Wrought Iron Pool Fence yourself can save money and give you a real sense of satisfaction — but it’s not a weekend craft project unless you plan carefully. Let me explain how to avoid the headaches, the trips back to the hardware store, and the crooked posts. This guide is written for homeowners who want clear steps, real tool names (yes, bring a DeWalt), and practical tips that work in Mesa, AZ weather.
Contents
- 1 Why choose wrought iron — and why it actually matters here?
- 2 First step: planning, permits and a sensible layout
- 3 Tools and materials you’ll actually need (not just the stuff on the box)
- 4 Step-by-step: a clear path to installing your fence
- 5 Common mistakes people make — and how to dodge them
- 6 Finishing touches that make a difference
- 7 A quick reference — spacing and typical materials
- 8 Last thoughts — timing, weather and a tiny pep talk
Why choose wrought iron — and why it actually matters here?
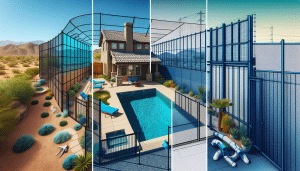
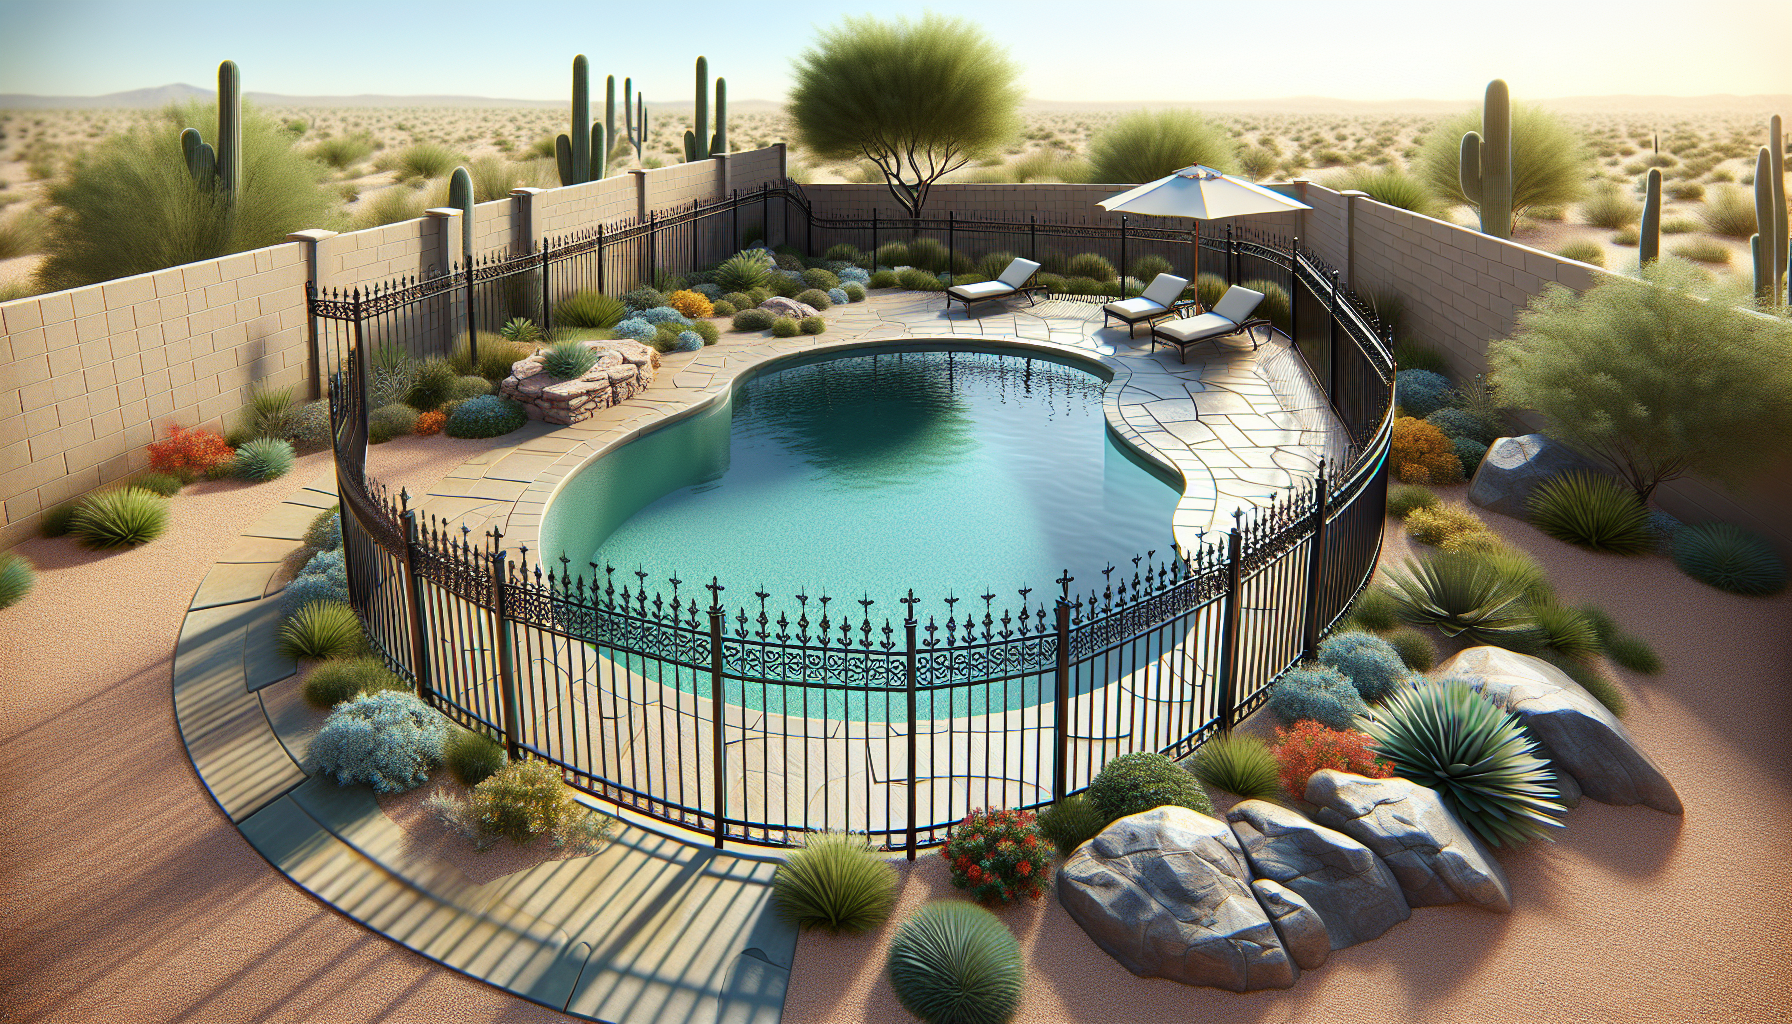
Pick a fence just because it looks good? Sure, we all do that. But wrought iron mixes strength with a classic look that complements desert landscaping and stucco homes around Mesa. It’s heavy, yes — but that heaviness is security. You get durability against rambunctious kids, RV wind gusts and the curious neighbor dog.
Here’s the thing: wrought iron is prone to rust over time if left untreated. So the finish matters. Powder-coated, galvanized, or stainless fasteners will keep the fence looking sharp while doing the real work — keeping the pool area safe. And yes, safety is the actual point here: this is about protecting loved ones and avoiding fines from local codes.
First step: planning, permits and a sensible layout
Before the saw comes out, do the paperwork. Mesa has rules about pool barriers (check Mesa City Code and ask your HOA). You might need a permit for a permanent fence. It sounds bureaucratic — and it is — but a permit keeps you honest and avoids having to tear the whole thing out later.
Take these measurements slowly. Walk the perimeter with a 50-foot tape, mark corners with spray chalk, and take photos. Use string lines to simulate fence runs. Trust me: measuring twice here will save a lot of swearing later.
Tools and materials you’ll actually need (not just the stuff on the box)
Here are the essentials. You likely already have some; the rest are worth borrowing or renting.
- Power tools: DeWalt 20V cordless drill, impact driver, and an angle grinder (for trimming rails).
- Drilling gear: Rotary hammer with masonry bits if you’re anchoring into concrete.
- Layout tools: 6-foot level, string line, 50-foot tape, chalk.
- Anchoring supplies: Quikrete post mix for set posts or Simpson Strong-Tie anchors for concrete pads.
- Fasteners and finish: Stainless steel screws and bolts; silicone sealant for gaps; touch-up paint that matches the powder coat.
Don’t skimp on hardware. Cheap screws corrode fast in pool environments (chlorine and salts are sneaky). Stainless is a little more expensive, but you’ll thank yourself in five years.
Step-by-step: a clear path to installing your fence
Here’s a condensed workflow that keeps things simple and correct. It’s not rocket science, but it’s exacting work.
1. Mark your posts and dig
Use the string line to mark a straight fence line. Typically posts go every 6 feet for a clean look; adjust spacing if you have heavier rails. For ground-mounted posts, dig holes 18-24 inches deep in Mesa’s clay-like soil — deeper if you want extra stability. If you’re mounting into concrete, mark anchors and check for utilities first.
2. Set posts properly
Mix Quikrete and set the post plumb in the hole. Brace the post while the concrete cures (24–48 hours). Yes, it takes patience; rushing this creates a crooked fence later. If you’re using wedge anchors on slab, pre-drill with a hammer drill and use Simpson Strong-Tie or equivalent hardware.
3. Hang rails and pickets
Attach top and bottom rails using stainless fasteners. Use a rubber mallet to seat pickets into position and keep the spacing consistent — you can use a scrap of lumber as a spacer. Check level frequently. A slight misalignment early becomes a glaring problem later.
4. Install gate and latches
Hang the gate last for best alignment. Adjustable hinges make this easier; tighten them after the gate has been opened and closed several times. For pool safety, the latch should be self-closing and out of reach for small children — typically more than 54 inches above grade, but confirm Mesa code.
Common mistakes people make — and how to dodge them
People assume fences are forgiving. They’re not. Here are the top missteps:
- Rushing post-setting: Concrete not fully cured leads to leaning posts. Wait the full cure time.
- Wrong fasteners: Using standard steel screws near pools invites rust and staining.
- Poor gate alignment: A gate that drags will warp or destroy the latch over time.
Also, here’s a small contradiction: you can install the fence alone, but you probably shouldn’t. Solo work is possible but having an extra pair of hands makes tasks like holding rails level much easier. Save your back and patience.
Finishing touches that make a difference
Don’t skip sealing and paint touch-ups. Even powder-coated iron will chip. Apply touch-up paint immediately where any welds were filed or cuts were made. Use silicone at post-to-concrete interfaces to keep water from pooling and causing rust at the base.
As for gates and latches, consider a product from MagnaLatch or D&D Technologies if you want a magnetically self-latching option that’s childproof yet user-friendly. These brands are common in pool fencing and have a good track record.
A quick reference — spacing and typical materials
| Item | Typical for 10 ft run | Notes |
|---|---|---|
| Posts | 2 | One at each end; extra for gates |
| Rails | 2 (top & bottom) | Pre-cut sections often fit 6–8 ft spans |
| Pickets | ~12–16 | Depends on spacing; 4-inch gaps common |
Last thoughts — timing, weather and a tiny pep talk
Work in Mesa’s cooler months if you can. Summer heat makes tools hotter, mixes cure faster and patience evaporates. That said, finish work like painting and sealing prefers dry conditions, so plan accordingly.
You know what? Tackling a wrought iron pool fence yourself is rewarding. You’ll learn a few things, and your yard will look great. But if the idea of trenching, concrete, alignment and local codes makes you queasy, there’s nothing wrong with calling pros — especially when safety and compliance are on the line.
If you want help with measurements, permits, or a professional install, call Pool Safety Fencing at 480-771-8026 or Request A Free Quote. We can provide an on-site estimate, answer Mesa-specific code questions, or just talk through your DIY plan so you don’t end up on a repeat trip to the hardware store.