Having a pool is a fantastic luxury, especially in the abundant sunshine we enjoy. But keeping your pool safe and clean can be a challenge. That’s where pool covers come in handy. If you’re a DIY enthusiast eager to tackle pool projects, this article is designed just for you! Dive into our step-by-step guide on pool cover installation and ensure your pool is ready for anything.
Contents
Understanding Your Pool Cover Needs
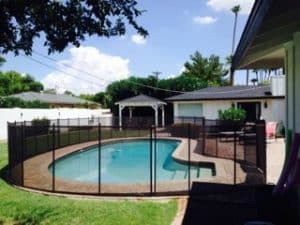
Before jumping into the how-to, it’s crucial to understand why you need a pool cover. Pool safety is not just about keeping your loved ones safe—it’s also about maintaining your pool’s cleanliness. Let’s explore how a pool cover protects your investment.
A pool cover is essential for several reasons. Firstly, it acts as a barrier, preventing accidental drownings, which is always a major concern for homeowners. Secondly, it helps keep debris out of the water, saving you from constant cleaning. Moreover, a pool cover can significantly reduce water evaporation and chemical loss, making your pool more energy-efficient.
By understanding these benefits, you’ll appreciate why selecting the right pool cover is a vital step in ensuring your pool safety and efficiency.
Types of Pool Covers
Choosing the best cover for your pool can seem daunting, given the range of options available. Let’s break it down so you can make an informed decision.
There are several types of pool covers, each with its unique set of benefits. A solar cover uses the sun’s energy to heat your pool, extending your swimming season. Meanwhile, a safety cover offers a sturdy barrier that can hold weight, perfect for households with kids or pets. For environmental enthusiasts, there are even automatic covers that offer convenience at the push of a button, using built-in motors.
Deciding which pool cover is right for you will largely depend on your personal needs and preferences. Consider the climate, your pool usage, and your family’s safety requirements when choosing your cover.
Tools and Materials Needed
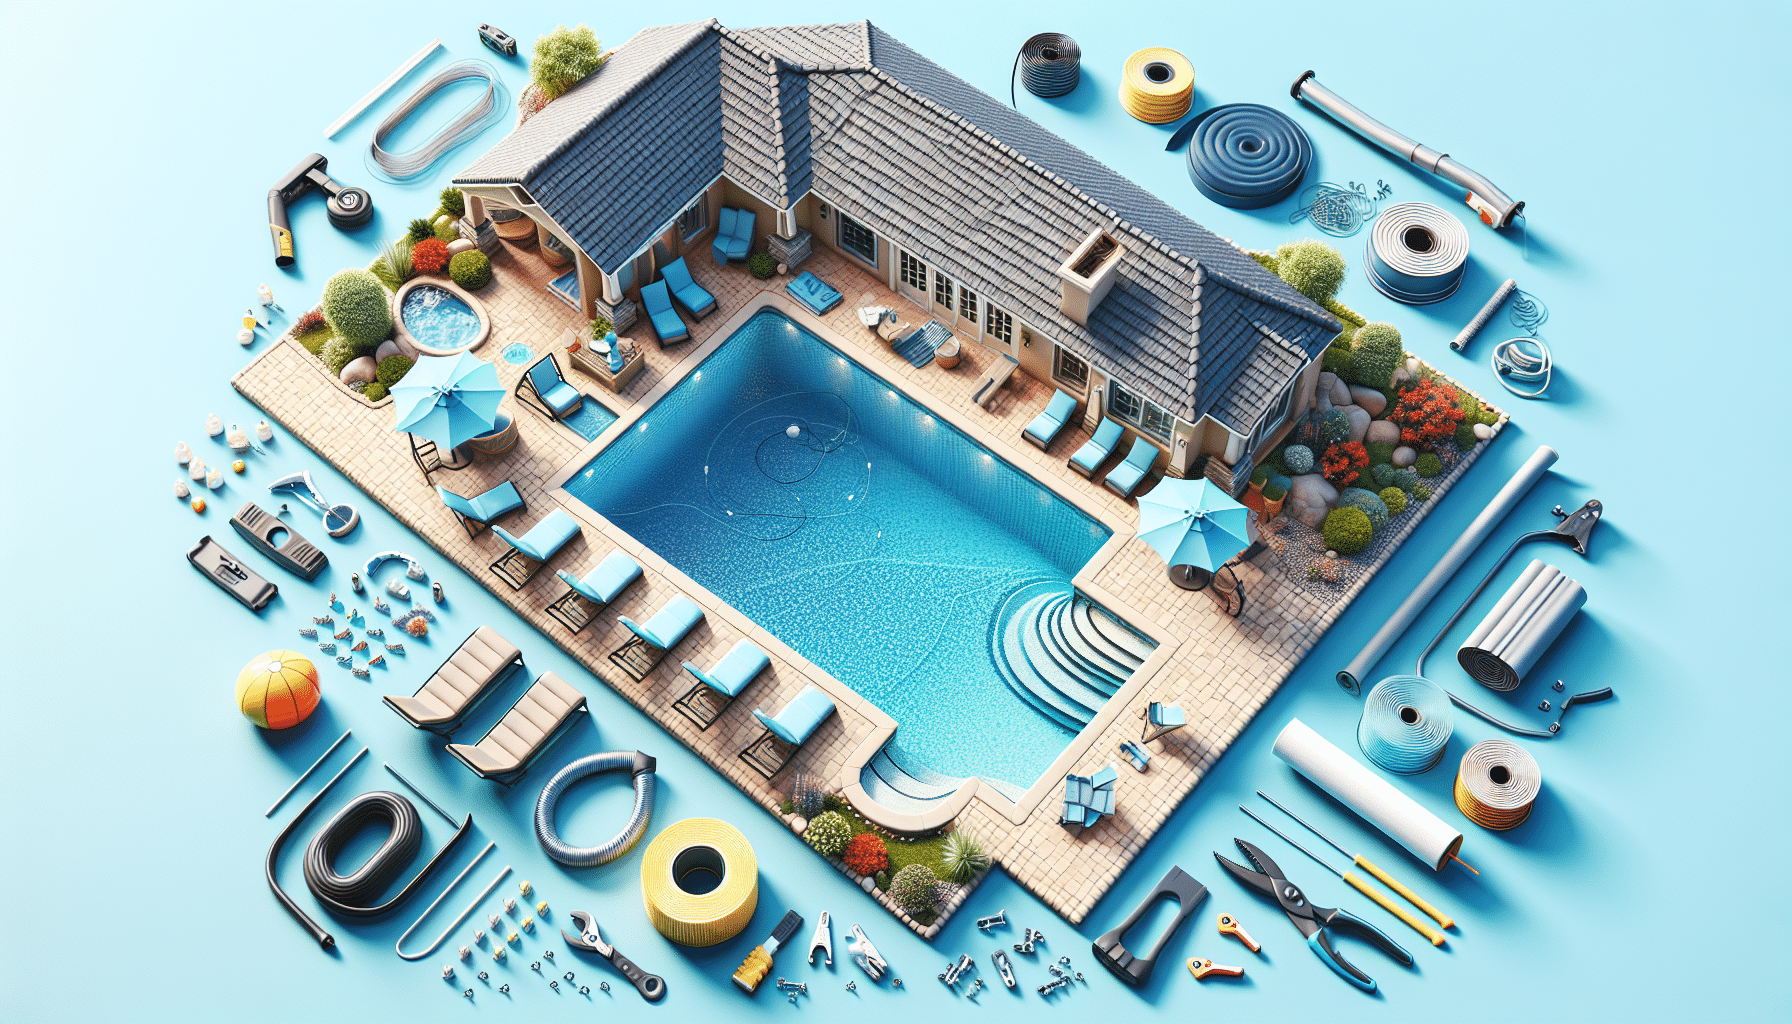
Every successful DIY project starts with gathering the necessary tools and materials. Here’s what you’ll need to install your pool cover.
- Cover material: Choose a durable material tailored to your specific pool cover needs.
- Anchor hardware: Essential for securing your pool cover, ensuring it stays firmly in place.
- Drill and bits: Required for installing anchors in concrete surfaces around your pool.
- Measuring tape: To ensure your cover fits your pool perfectly.
- Utility knife or scissors: Needed for trimming the cover material to the perfect size.
Measuring Your Pool
Accurate measurements are critical to ensure your pool cover fits just right. Let’s walk through how you can get these measurements spot-on.
Start by measuring the widest and longest parts of the pool. Ensure you’re measuring in a straight line across the pool, avoiding any curves. This will give you the pool’s maximum dimensions. Record these measurements carefully, keeping them handy for when you’re ready to purchase your cover.
If your pool has an irregular shape, you might need to plot points on a grid or use a template to get it just right. Remember, precise measurements will ensure your cover fits snugly, providing optimal protection.
Preparing the Pool Area
A little prep work goes a long way in smoothing the installation process. Let’s make sure your pool area is ready for the new cover.
First, clear any debris or obstacles from around the pool area. This ensures nothing gets trapped under the cover or into the pool during installation. Next, ensure the deck is clean and dry, providing a good surface for the anchors.
Additionally, verify that you have ample space around the pool to work comfortably. Smooth out any uneven surfaces around the pool edge, as these can interfere with a good seal between the deck and the cover.
Installing the Anchors
Securing your pool cover correctly is critical for its longevity and effectiveness. Let’s dive into how to install those anchors.
Begin by marking the spots where you will install the anchors, ensuring they align correctly with your cover’s attachment points. Once marked, use your drill and appropriate bit to create holes in the designated spots on your pool deck. The depth of these holes should match the total length of your anchors.
Next, insert the anchors into the holes, ensuring they sit flush with your deck. This step guarantees a seamless fit, reducing trip hazards and ensuring your cover lays flat.
Attaching the Pool Cover
It’s time! Let’s attach the pool cover meticulously for maximum effectiveness.
First, lay the pool cover over the water, ensuring that it covers the entire surface. Align it carefully at your pool’s edges so it sits evenly. Once you’re satisfied with the positioning, begin attaching the cover to the anchors, working your way systematically from one side to the other.
Pay close attention to keeping the tension even across the cover. This not only keeps the water secure but also prolongs the life of your cover, as uneven tension can lead to premature wear and tear.
Checking for Proper Alignment
Once installed, checking for proper alignment ensures the cover functions correctly and looks great. Let’s verify everything is in place.
Walk around the pool, inspecting the cover for any wrinkles or misalignments. Tighten any loose areas and adjust as needed to maintain that sleek, snug fit. Proper alignment is crucial to prevent debris from sneaking into the pool and to ensure safety for anyone walking near the edge.
Adjust the anchors and the cover itself if necessary. Your goal is to achieve an even surface that’s taut enough to support minor weight but still flexible.
Maintenance Tips for Longevity
Your pool cover is in place, but maintenance is key to ensuring it lasts. Let’s explore how to care for it.
Regular cleaning is your friend. Remove any leaves, dirt, or debris that may accumulate on the cover to keep it looking fresh and functioning well. Consider rinsing it down occasionally to prevent any accumulation that might strain the material.
Inspect the cover and anchors periodically for signs of wear or damage. Address any issues promptly, like repairing small tears or reattaching loose anchors, to prevent them from becoming larger problems.
Conclusion
Now that your pool cover is installed, you’re set to enjoy not just a cleaner pool, but a safer one too. If you follow these steps and maintain it well, your pool cover will serve you for years to come. For any questions or professional assistance, contact us by phone at 480-771-8026 or request a free quote.