Introducing an aluminum pool fence to your backyard oasis not only enhances its appearance but also ensures safety for your loved ones. At Pool Safety Fencing, we understand homeowners’ concerns about keeping children and pets safe around the pool area. In this comprehensive guide, we will walk you through the aluminum pool fence installation process, showcasing its benefits and providing step-by-step instructions to make your project smooth and successful.
Contents
- 1 Why Choose Aluminum for Your Pool Fence?
- 2 Understanding Local Regulations and Safety Codes
- 3 Preparing for Installation: Tools and Materials
- 4 Marking Your Fence Layout
- 5 Digging Post Holes
- 6 Setting Fence Posts
- 7 Attaching Fence Panels
- 8 Installing the Gate
- 9 Finishing Touches and Inspection
- 10 Maintaining Your Aluminum Pool Fence
- 11 Enhancing Pool Safety with Additional Features
Why Choose Aluminum for Your Pool Fence?
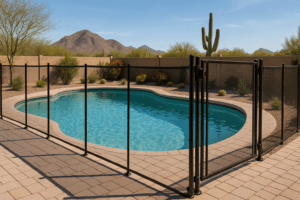
Aluminum pool fences are a popular choice among homeowners due to their durability, aesthetic appeal, and low maintenance. Unlike other materials, aluminum is resistant to rust and corrosion, making it ideal for outdoor installations, especially around pools. Additionally, aluminum fences provide a sleek and modern look that complements any backyard design.
Another significant advantage of aluminum fencing is its longevity. Investing in an aluminum fence means you’re opting for a long-term solution that will withstand the elements over the years. Moreover, these fences are easy to clean and require minimal upkeep, saving you time and effort.
Understanding Local Regulations and Safety Codes
Before you start installing your aluminum pool fence, it’s crucial to understand the local regulations and safety codes. Different areas have specific requirements regarding fence height, gap size, and gate specifications. Adhering to these regulations ensures the safety of your pool area and helps you avoid any legal issues.
We recommend contacting your local authorities or checking their websites for detailed information on pool safety regulations. Having a clear understanding of these codes will guide you through the installation process, ensuring compliance and peace of mind.
Preparing for Installation: Tools and Materials
Proper preparation is key to a successful aluminum pool fence installation. Gather all the necessary tools and materials before starting the project. Here’s a quick list to help you get started:
- Post hole digger: Essential for digging holes for the fence posts.
- Level: Ensures your fence panels and posts are aligned properly.
- Concrete mix: Used to secure the fence posts in the ground.
- Measuring tape: Helps you measure distances accurately for even spacing.
- Power drill: Required for attaching panels and gate components.
Marking Your Fence Layout
Once you have your tools and materials ready, the next step is marking your fence layout. This process involves outlining where the fence will be installed and ensuring it meets local codes. Start by measuring and marking the corners where the posts will be placed. Use string and stakes to create a visual guide for the fence line.
Marking your fence layout accurately helps prevent errors during installation. It also allows you to make adjustments before committing to the placement of your fence posts. Double-check your measurements to ensure a smooth installation process.
Digging Post Holes
With your layout marked, it’s time to start digging post holes. Using a post hole digger, create holes that are deep enough to secure the posts firmly in place. The depth and width of the holes will depend on the height of your fence and local regulations.
Ensure that each hole is aligned with your marked layout. A level can be used to make sure the posts will stand straight. Proper alignment and depth are crucial for the stability and longevity of your aluminum pool fence.
Setting Fence Posts
After digging the holes, the next step involves setting the fence posts. Place each post into its respective hole and fill the surrounding space with concrete. This will secure the posts and provide a stable foundation for the fence panels.
Allow the concrete to set according to the manufacturer’s instructions. It is important not to rush this step, as the stability of your entire fence depends on the firmness of these posts. While the concrete sets, regularly check the alignment to ensure the posts remain straight.
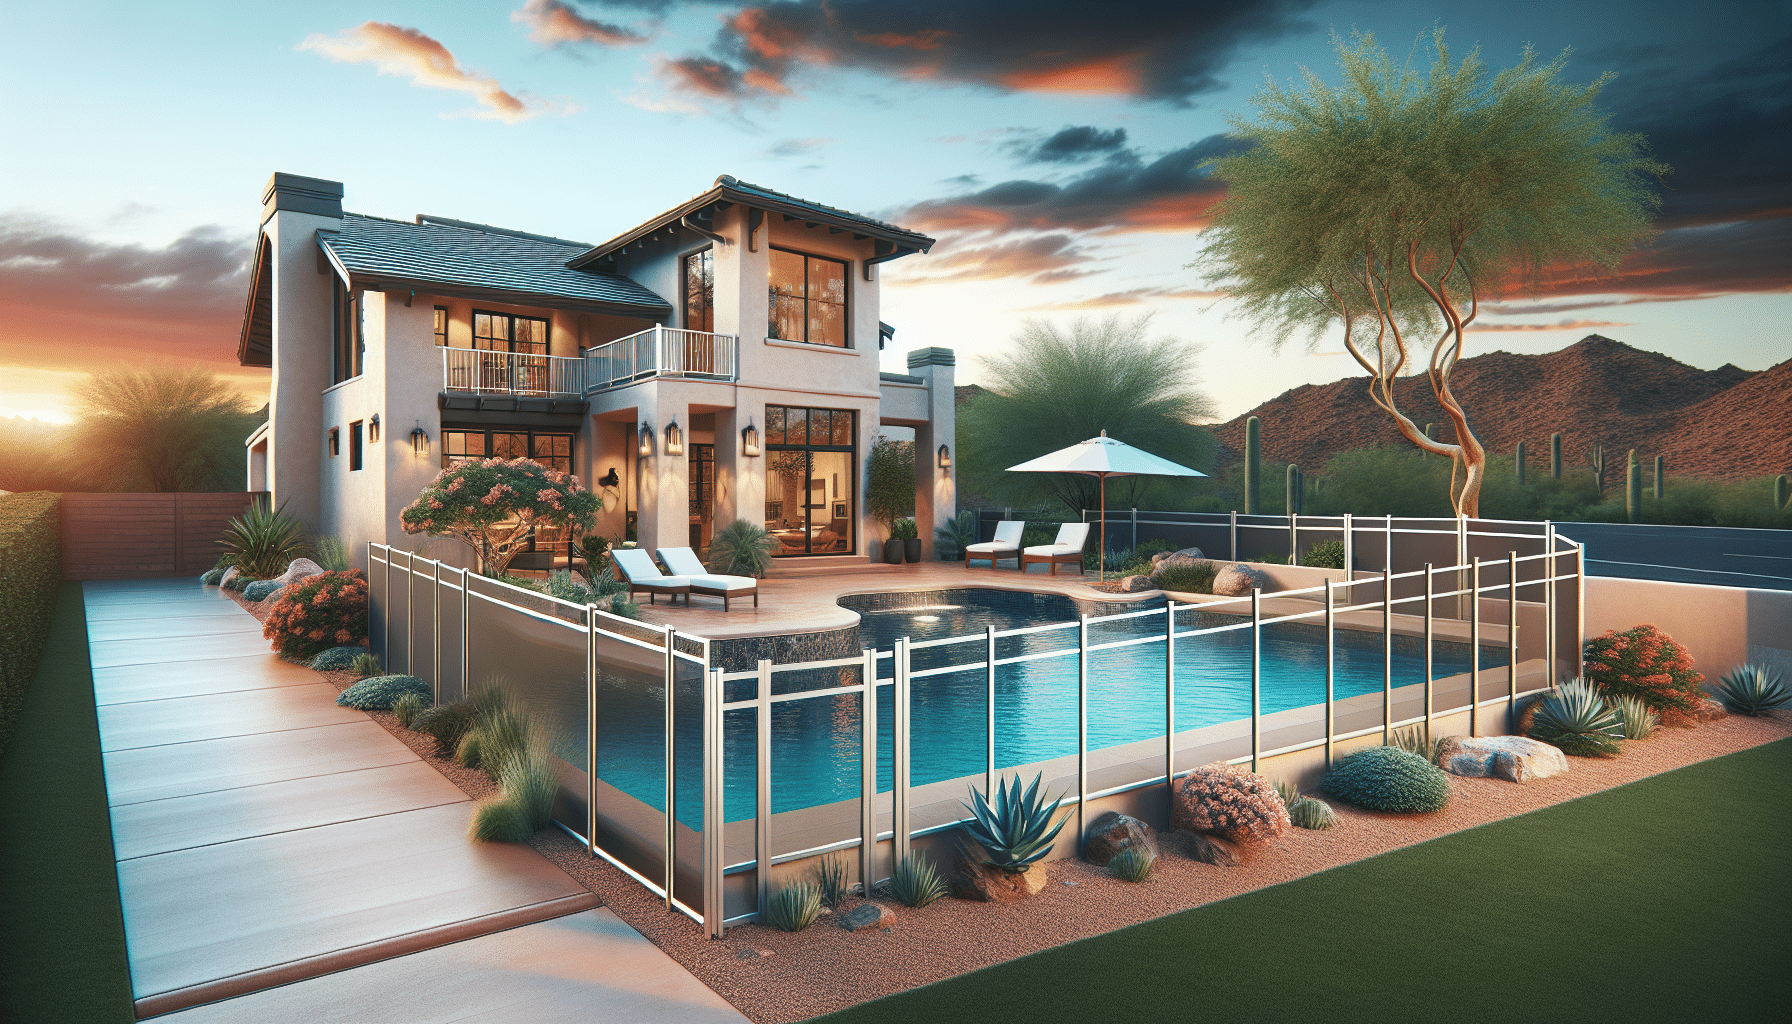
Attaching Fence Panels
Once the posts are firmly set, it’s time to attach the fence panels. This step brings your fence to life and gives you a glimpse of the final product. Start by positioning the panels between the posts, ensuring they are level and properly aligned.
Secure the panels to the posts using the recommended fasteners. A power drill will make this process quicker and more efficient. Double-check that each panel is securely attached and that no gaps exist between the fence and the ground, maintaining the safety aspect of your installation.
Installing the Gate
The gate is an essential component of your aluminum pool fence, offering access while maintaining safety. Position the gate in a convenient location, ensuring it aligns with your overall fence design. Attach the gate hinges to the gate post, making sure they are secure and allow smooth movement.
Next, install the latch mechanism on the gate and post, ensuring it functions correctly. It’s crucial to have a self-closing and self-latching gate to meet safety regulations. Test the gate multiple times to confirm it closes securely and does not leave any gaps that could compromise safety.
Finishing Touches and Inspection
With the panels and gate installed, take some time to inspect your work and add finishing touches. Ensure all fasteners are tight and that the fence is level and secure. Pay attention to any potential safety hazards, such as sharp edges or gaps, and address them promptly.
An important final step is to conduct a thorough inspection to ensure your fence meets all local regulations and safety standards. This not only provides peace of mind but also secures the safety of your pool area for everyone.
Maintaining Your Aluminum Pool Fence
One of the benefits of an aluminum pool fence is its low maintenance. However, occasional upkeep is necessary to keep it looking its best and functioning properly. Regularly check the fence for any loose fasteners or signs of wear and address them immediately.
Cleaning your aluminum fence is simple. Use mild soap and water to remove dirt and grime, avoiding harsh chemicals that could damage the finish. By staying on top of maintenance, you ensure your fence remains attractive and durable for years to come.
Enhancing Pool Safety with Additional Features
Aside from the fence itself, there are numerous additional features that can enhance pool safety. Consider installing a pool alarm, which can alert you to unauthorized access or potential dangers. pool covers and safety nets are also excellent options for added security.
By combining these features with your aluminum pool fence, you create a comprehensive safety system that offers peace of mind. Remember, the safety of your loved ones is paramount, and taking extra precautions is always a wise choice.
For expert installation of aluminum pool fences and additional safety features, contact Pool Safety Fencing by phone # 480-771-8026 or request a free quote.