In sunny Arizona, ensuring the safety of your pool is a must. At Pool Safety Fencing, we’ve noticed that many homeowners are looking for affordable ways to secure their pools without compromising on safety. This blog post provides insightful DIY fence installation tips that can help homeowners protect their loved ones while saving money. From selecting the right materials to post-installation maintenance, we’ve got you covered.
Contents
- 1 Understanding the Importance of Pool Safety
- 2 Selecting the Right Fence Material
- 3 Measuring Your Pool Area
- 4 Gathering Necessary Tools and Supplies
- 5 Preparing the Installation Site
- 6 Installing Fence Posts
- 7 Attaching the Fence Panels
- 8 Installing Gates and Entry Points
- 9 Inspecting the Fence for Stability
- 10 Post-Installation Maintenance Tips
- 11 Enjoy Peace of Mind
Understanding the Importance of Pool Safety
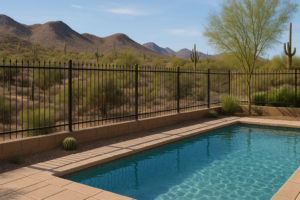
Pool safety is more than just an option; it’s a necessity. Unfortunately, drowning incidents can escalate quickly and often occur silently. By installing a pool safety fence, you not only comply with safety regulations but also add a layer of protection for your family and friends. In addition, pool safety fencing can help keep pets and wildlife out of the pool area, reducing the risk of accidents.
Selecting the Right Fence Material
Choosing the appropriate material is key to the success of your DIY pool fence. Various materials, such as mesh, glass, and metal, come with their unique benefits and drawbacks. For instance, mesh fences are lightweight and easy to install, whereas glass fences offer an unobstructed view of the pool area but can be pricier. Assess your needs, budget, and aesthetics before making a decision.
Measuring Your Pool Area
Accurate measurements are crucial when installing a pool safety fence. Start by mapping out the perimeter of the pool area, ensuring you account for gates and entry points. Using a measuring tape, carefully measure the length and width of each section. Double-check your measurements to avoid any errors that could lead to material wastage.
Gathering Necessary Tools and Supplies
Having the right tools is essential for a successful DIY installation. Here’s a handy checklist of items you might need:
- Measuring tape: For accurate measurements of the pool perimeter.
- Drill: To create holes for fence posts and secure fasteners.
- Level: Ensures your fence is straight and aligned.
- Fence posts: The structural components that support the fence.
- Fence panels: The sections that make up the visible barrier.
Preparing the Installation Site
Before you start the installation, it’s essential to prepare the site. Clear the area of any debris, rocks, or vegetation that could obstruct the fence line. Mark the spots where the fence posts will be placed using stakes or spray paint. Ensure there is enough space between each post for the fence panels to fit securely. This preparation will make the installation process smoother and more efficient.
Installing Fence Posts
Installing the fence posts is a critical step. Begin by digging holes for the posts, ensuring they are deep enough to provide stability. Typically, holes should be one-third the height of the fence. Place the posts into the holes and fill with concrete, checking that each post is level before the concrete sets. Allow the concrete to cure fully before attaching fence panels.
Attaching the Fence Panels
Once the fence posts are securely in place, it’s time to attach the fence panels. Begin at one end and work your way around the pool area. Align each panel with the posts and secure them using the recommended fasteners. Keep an eye on the level and alignment to ensure a professional-looking finish. Remember to leave room for gates at entry points.
Installing Gates and Entry Points
Gates are an integral part of your pool safety fence. Choose self-closing and self-latching gates to provide an extra layer of security. Follow the manufacturer’s instructions for installation, ensuring they align with the surrounding fence panels. Test the gates to ensure they function correctly and provide easy access while maintaining safety.
Inspecting the Fence for Stability
After the installation, inspect the entire fence for stability. Check that all posts and panels are securely fastened and there are no gaps that could compromise safety. Test the gates and latches to ensure they operate smoothly. Regular inspections and maintenance will help keep your pool fence in optimal condition.
Post-Installation Maintenance Tips
Maintaining your pool safety fence is just as important as the installation process. With regular care, you can ensure the fence remains effective and looks great. Here are some tips:
- Regular inspections: Check for any damage or wear and tear at least once a month.
- Cleaning: Clean the fence with mild soap and water to remove dirt and grime.
- Lubricate moving parts: Keep gates and latches functioning smoothly with periodic lubrication.
- Repair promptly: Address any issues immediately to maintain the integrity of the fence.
- Seasonal maintenance: Prepare your fence for seasonal changes like monsoons by securing loose elements.
Enjoy Peace of Mind
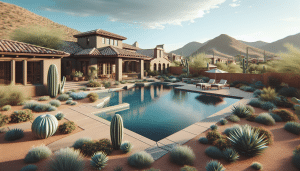
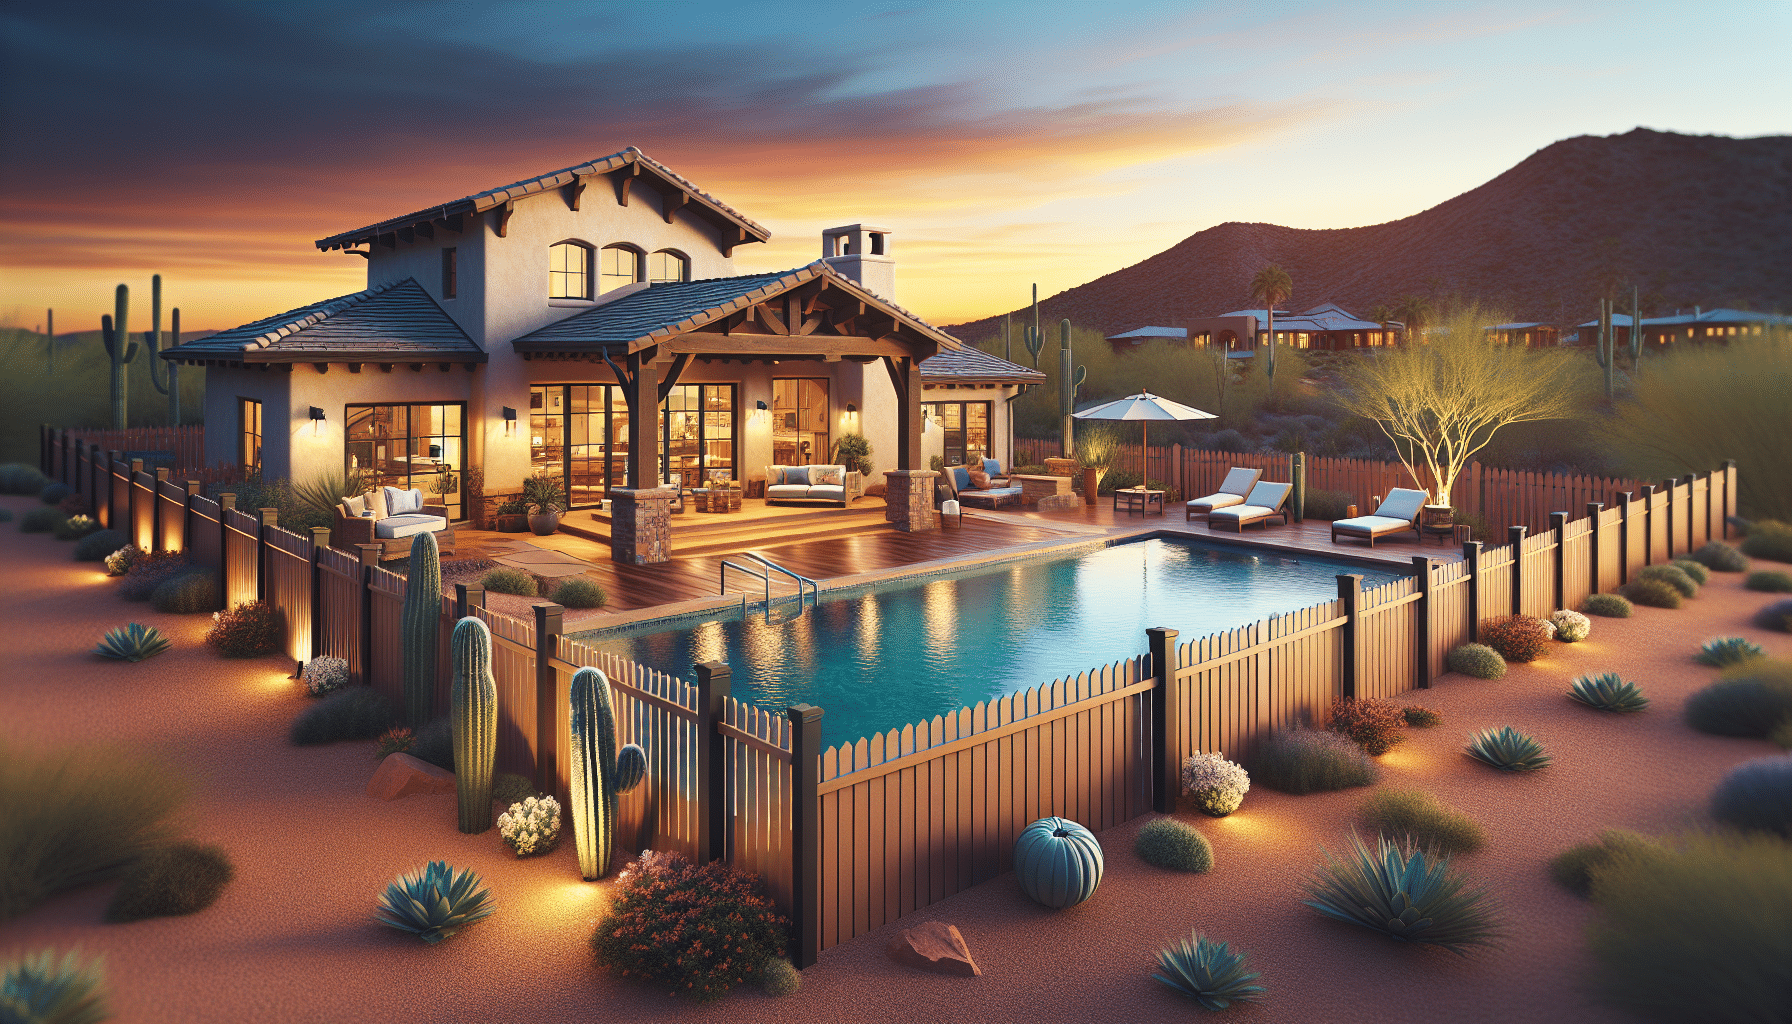
By taking the time to properly install and maintain your pool safety fence, you can enjoy peace of mind knowing your pool area is secure. Not only does a safety fence protect your loved ones, but it also enhances the aesthetic appeal of your backyard. Dive into DIY pool safety with confidence, and relish the blend of safety and style!
Ready to enhance your pool’s safety? Contact us by phone at 480-771-8026 or request a free quote.